

Pumpkin Planter | DIY

While I love freshly cut flowers, I think faux flowers work great for this project! I like to choose various green hues because they look so real!!! (Unlike the bright pinks and reds, that clearly look fake.)
Wondering what you should do with all of your post-Halloween pumpkins? How about turn them into gorgeous planters?! I LOVE the way this fairytale pumpkin turned out! It's the perfect centerpiece this Fall -- and if you use faux flowers (like I did), this pumpkin planter can last longer!

Pumpkin planters would also make beautiful gifts during the holidays.
Here's my quick video tutorial...This is a one min vid to show us visual learners how easy it is to make a pumpkin planter! Keep on scrolling for the list of supplies you will need to make one at home!
Here's what you need...
- Pumpkin
- Pumpkin carving knife
- Plastic wrap
- Floral foam
- Faux flowers
- Wire cutters

Super simple project! This pumpkin planter requires minimal supplies!

The transformation is remarkable! You can you use smaller pumpkins too -- but the larger pumpkin planters really make for a gorgeous centerpiece.
I love live-streaming my DIY projects so you can join me in real-time! Check out my FB Page @AbbieLive and my IG @AbbieBoudreau for more original videos!
Here's how you make it...
First carve a relatively small hole at the top of the pumpkin and discard the stem. Remove all of the seeds and stringy things from inside of the pumpkin. Bring it to the sink (along with a bunch of paper towels) and rinse out the pumpkin. Do your best to clean and dry the inside of the pumpkin. The drier the better! Remember, these will NOT LAST FOREVER!! Mine lasted one full week. Other people who have made these say theirs lasted longer, so I guess it depends on your pumpkin!
Next push a piece of plastic wrap into the hole of the pumpkin. Cut a piece of floral foam (a tad smaller than the hole at the top of the pumpkin) and then push it down. The plastic wrap should NOT be showing.
Finally, trim the stems of your faux flowers, and insert them into the floral foam. Start by using the larger flowers to create the shape of the arrangement. Then use the smaller flowers to fill in any gaps and to add cool pops of color. NOTE: Your flowers should sit nice and low on the pumpkin. Make sure you are trimming the stems enough so when the blooms are inserted, they cover the floral foam!
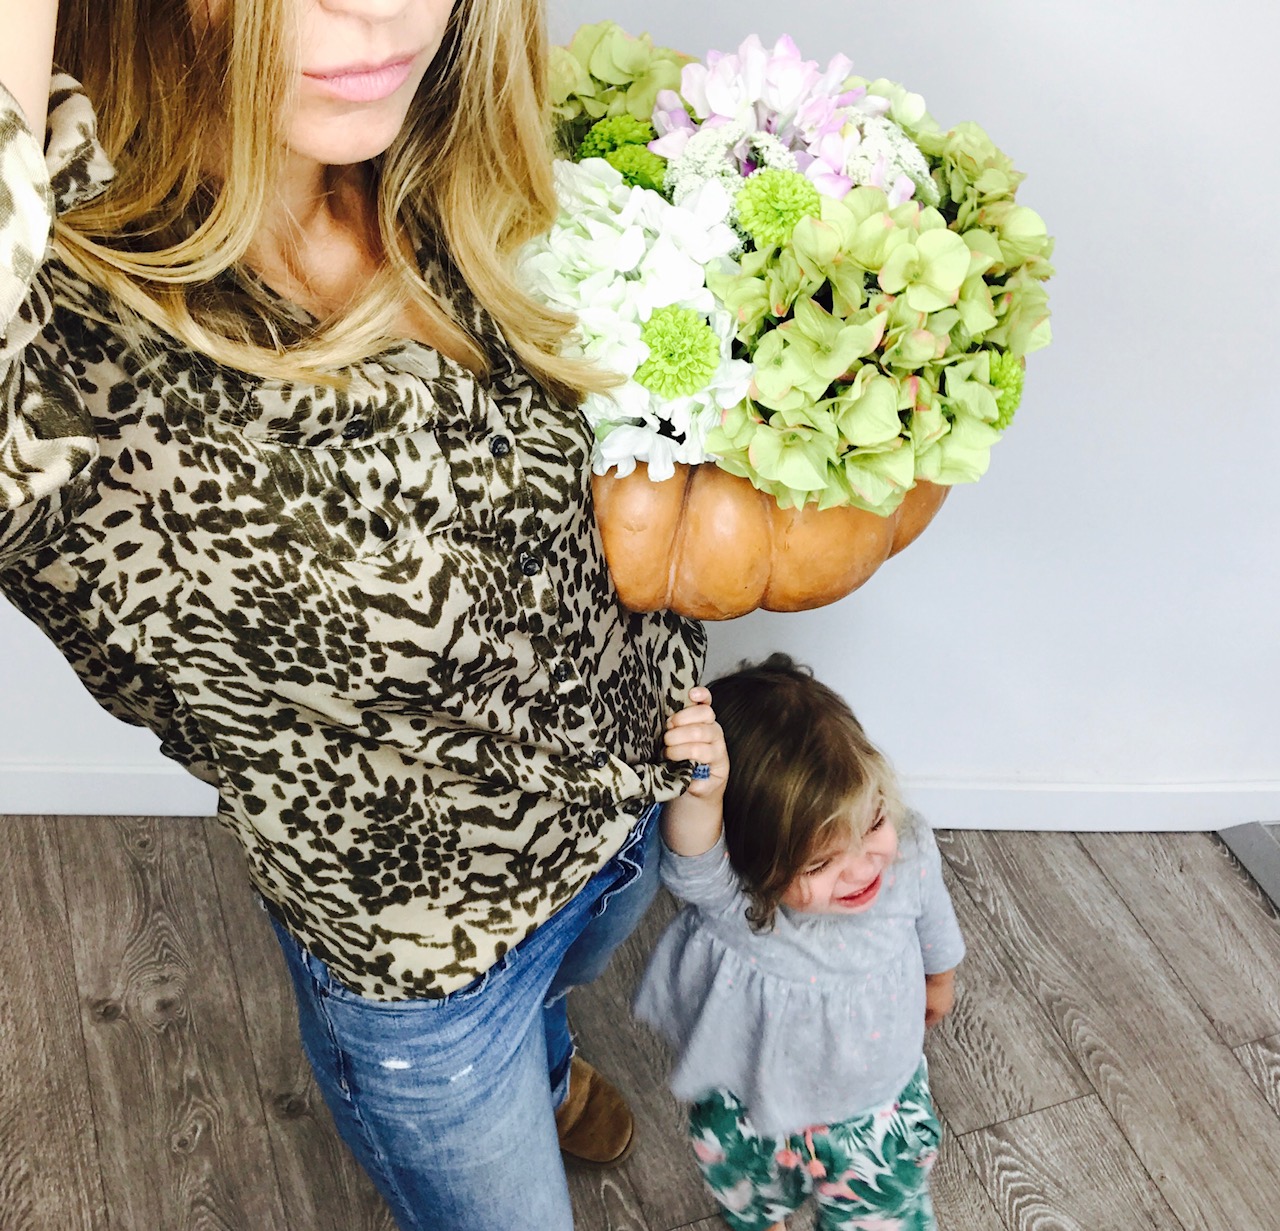
This is a crafty mom's REALITY... But ya know what?!! We figure it out, don't we?!!
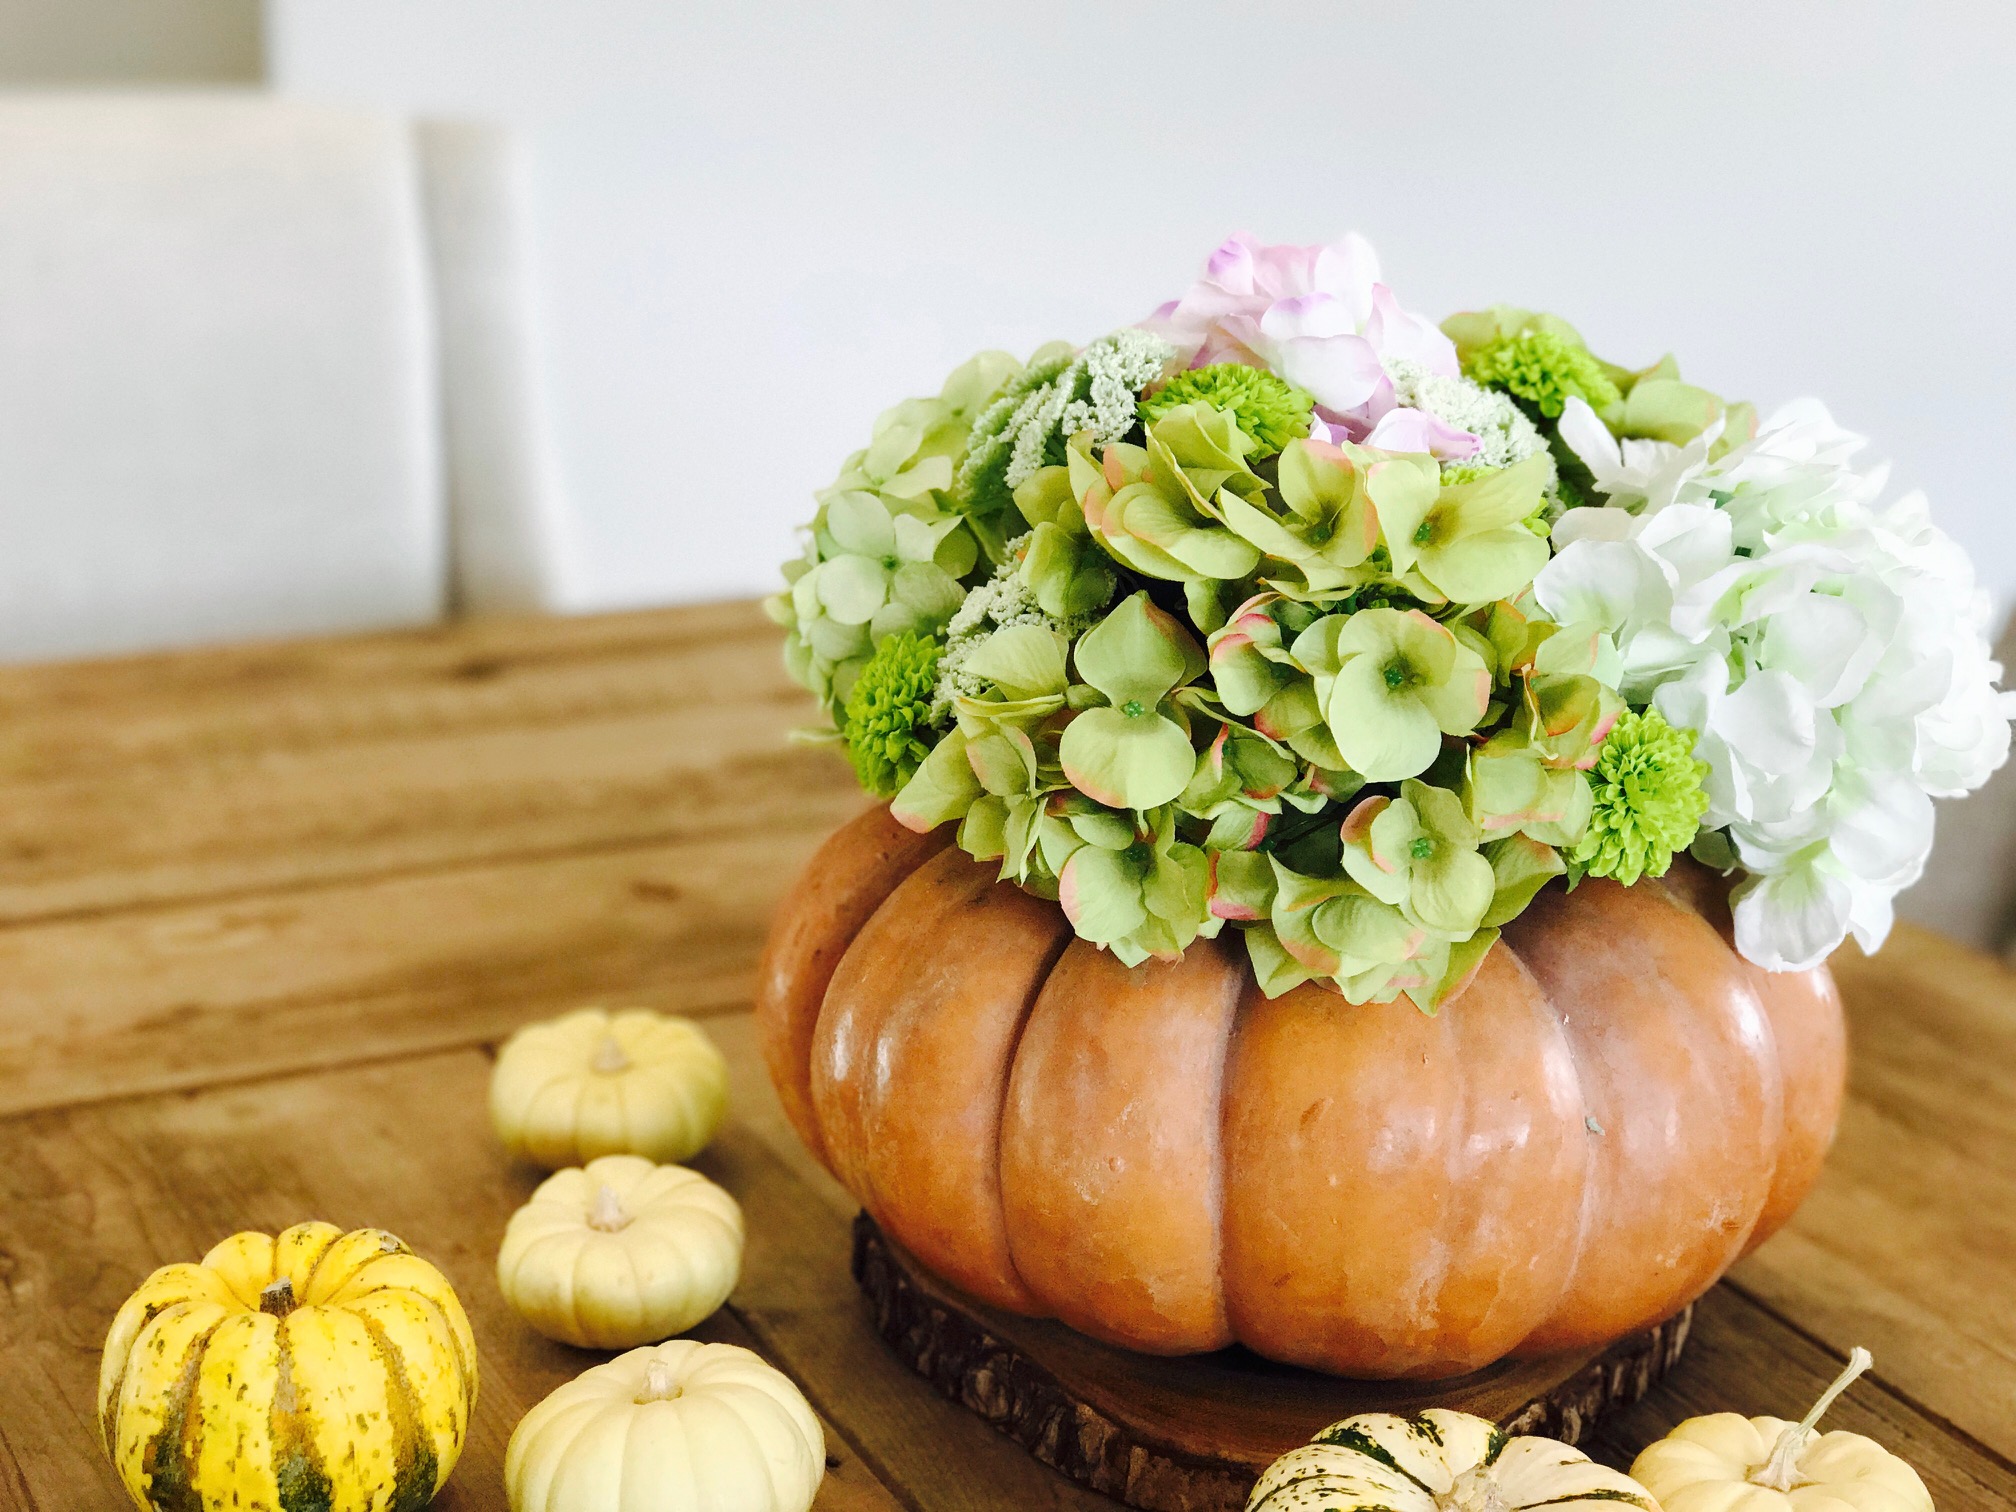
A beautiful centerpiece for my farm table!
