
Pumpkin Draping | DIY Pumpkin Decor

Remember to keep the fabric strips nice and tight so it gives a more seamless finish!
If you've never heard of pumpkin draping before, well, don't feel bed...I kind of made it up! (With the help of my sister @MayaBoudreau!) While I am sure people have used fabric to adorn their pumpkins, here's my spin on it...and I'm pretty sure you will find it quick and easy! It takes about 30 minutes to drape a small/medium-sized pumpkin.

The sign of a successful craft??? One that is DONE IN 30 MINUTES!! (And LOOKS GOOD TOO!!)
Here's my LIVE TUTORIAL! Come craft with me in real-time on @AbbieLive on FB and follow me on IG @AbbieBoudreau!
Here's what you need...
- Pumpkin
- Fabric
- Glue gun
- Scissors

Nothing screams FALL a cozy sweater, a messy art table and adorable little pumpkins all around the house!
Here's how you do it...
- First cut your strips of fabric so they are all the same length and about 1.5in wide. The length of the strip should be long enough to stretch from the base of the stem to the bottom of the pumpkin. (I would add an extra two inches to the total length, and plan to trim later.)

- Starting at the base of the stem, hot glue strips of fabric around the top of the pumpkin. Be sure to fold the very top of the strip to hide any raw edges before you glue it to the pumpkin. Try to be very neat so the dried glue is not exposed.


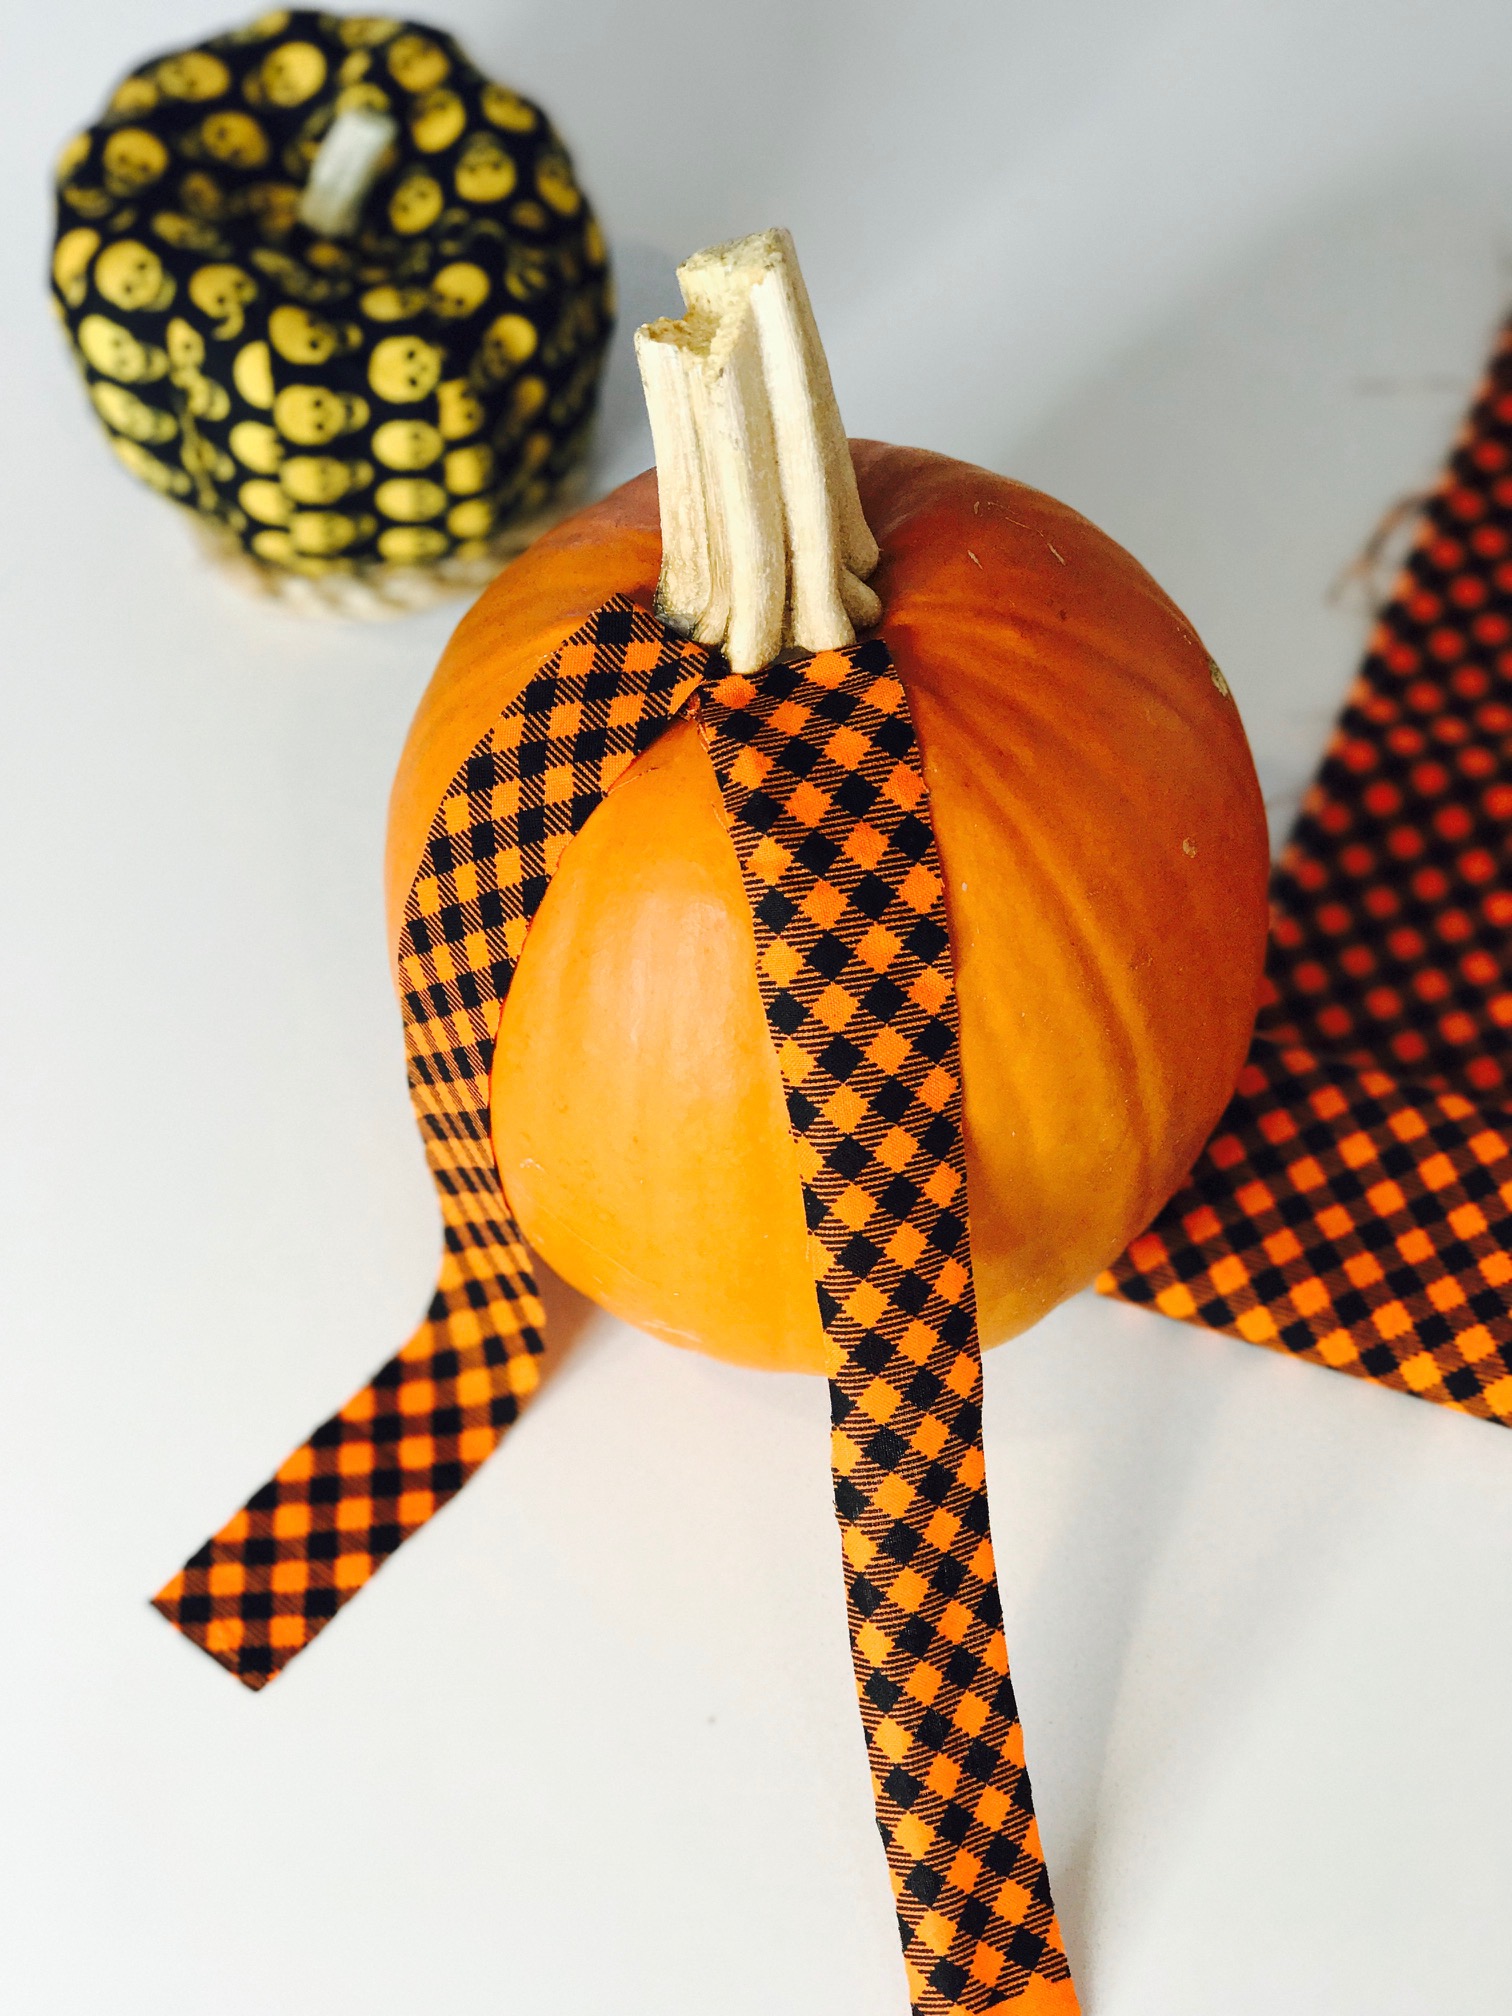
- Continue adding strips to the top of the pumpkin until you can no longer see any of the pumpkin. This will create overlapping layers of strips.


- Once the glue is dry (after a few mins), you will glue the bottom of the fabric strips underneath the pumpkin. Reminder: You will start with the layer of strips closest to the pumpkin, and work your way around the pumpkin before moving to the next "layer" of fabric strips.


- It's important to smooth out any wrinkles on the fabric before applying the glue to hold in place. The fabric should be held taut and smooth against the pumpkin to avoid the appearance of seams.
- Trim the fabric from the bottom of the pumpkin when necessary. If it's too bulky, your pumpkin may not sit evenly. Reminder: The larger the base, the less likely your pumpkin will wobble!
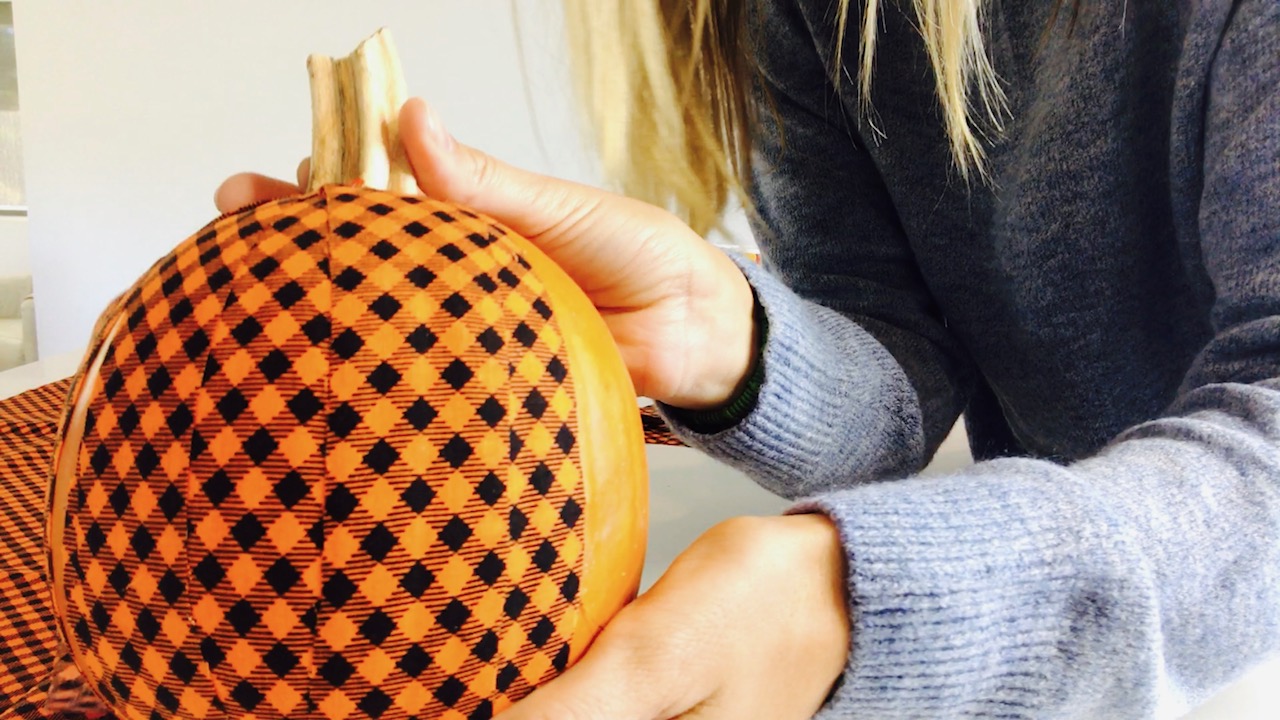
- After applying all of your fabric strips, you are done! It really is that easy!


Woah. Extreme close-up. My point here is to show you the relative size of this pumpkin! From start to finish, it took me about 30 mins to create this draped pumpkin!

